Introduction
Hey there! Today, I want to share with you a project I’ve been working on in my barn – a homemade two-foot pipe burner. In this blog post, I’ll walk you through how I built this burner and the homemade Venturis that accompany it. So, let’s dive in!
Pipe Burner Construction
I decided to create a smaller version of the pipe burner using a two by two-foot syrup pan. The pipe itself is about 43 inches long to allow the Venturi to be outside the block. The cuts for the burner were made one and a half inches apart, following the same process as in my original video.
Homemade Venturi Assembly
The homemade Venturi is made using an inch and a quarter to two-inch T, ensuring sufficient air intake. By drilling out the orifice to 564, attaching it to a bushing, and connecting the nipples on each side, the Venturi is ready for assembly. This setup allows for adjustable fuel intake and air mixture.
Burner Performance
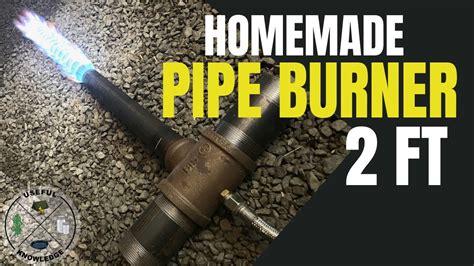
When lit, the burner performs excellently even at low pressures, thanks to the adequate air and fuel supply. The flames produced are tall and powerful, offering a wide range of heat output. The homemade Venturi design proved to be efficient and reliable during extended use.
Conclusion
Building your own homemade pipe burner and Venturi can be a rewarding project, providing a customizable and efficient heating solution. I hope this walkthrough has been informative and inspiring for your own DIY projects!
Related Questions
1. How did you decide on the size and design of your homemade pipe burner?
I chose to create a smaller two-foot version of the pipe burner to match a two by two-foot syrup pan I had. The design allowed for the Venturi to be located outside the block for better airflow.
2. What materials did you use for the homemade Venturi assembly?
For the Venturi assembly, I used an inch and a quarter to two-inch T, four-inch nipples on each side, an orifice drilled to 564, and a bushing to hold the orifice in place.
3. How does the homemade Venturi contribute to the burner’s performance?
The homemade Venturi ensures a proper mixture of air and fuel, allowing for efficient combustion at both low and high pressures. It offers a wide range of heat output and can be easily adjusted to suit different heating needs.
4. Can you describe the burner’s performance and efficiency during extended use?
During extended use over two days in the fall, all three pipe burners with homemade Venturis performed flawlessly. They provided consistent and powerful flames, delivering ample heat for the intended purpose.
5. What benefits did you find in building your own homemade pipe burner and Venturi?
Building a homemade pipe burner and Venturi allows for customization, cost savings, and satisfaction in creating a functional heating device. The ability to control the heat output and airflow adds versatility to the burner’s usage.